|
White Balance |
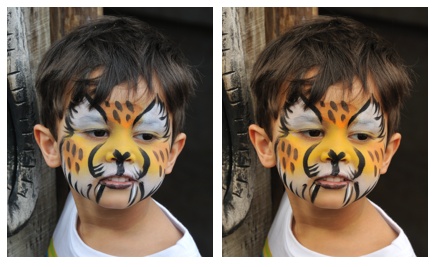
Quickly improve the quality of your photos: By far one of the simplest
and fastest ways to instantly improve the quality of your photos is to manually
fine-tune white balance. Photos that looked OK before will 'pop' after setting
an accurate white balance. Here is one example:
Where to make the adjustment: Adjusting White Balance in the Edit List
under 'Develop' / 'Camera Settings' is critically important (instead of using other
Adjustments after-the-fact, like a neutral control point) because this adjustment
operates on the RAW NEF.
(see how capture NX handles NEF dynamic range).
Auto White Balance: Most digital cameras are pretty good at automatically
determining the nearly correct white balance setting. But after playing
around with white balance in some of your photos, I believe that you will
quickly realize how much better an accurate white balance looks, instead
of a white balance that is 'close'.
|
TIP: This is where photography turns into an art. The correct
white balance is what looks good to YOU.
|
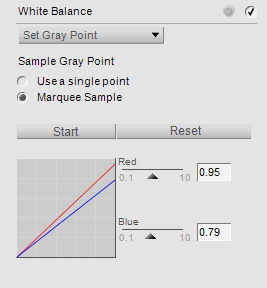
Marquee Sample: My preference is to: (a) zoom into the photo 100%;
(b) select 'Set Gray Point' and 'Marquee Sample'; (c) press 'Start';
(d) find any area that 'should' have no color -- should be white or
gray but currently is not) and (d) select a rectangular sample
by clicking, dragging, and releasing the mouse. If you don't like the white
balance correction results, try again on another 'gray area'. Just use your
eyes and repeat as needed until you are happy with the new white balance.
The entire point of white balance in Capture NX is that you are selecting
a rectangular sample area in your photo that 'should' have no 'color' to it,
but currently, does have a color tinge to it. Doing so allows NX to remove
that 'color' (that you selected) from your entire photo, correcting and
eliminating the color tint from the entire photo.
Marquee vs Point: In my experience, a marquee sample works a lot
better than a single point for setting white balance (especially in higher
ISO photos). A single point can be affected by noise, whereas in a sampled
area, the noise tends to average itself out, and all you are left with is
the important color information.
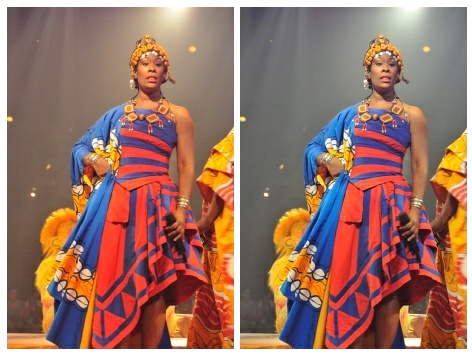
You don't always have to look for 'white': In the photo below, the
obvious choice for a marquee sample area is a patch of white on the dress.
But in this example, a marquee sample was actually taken from the gray
background (light filtering threw air with a little smoke).
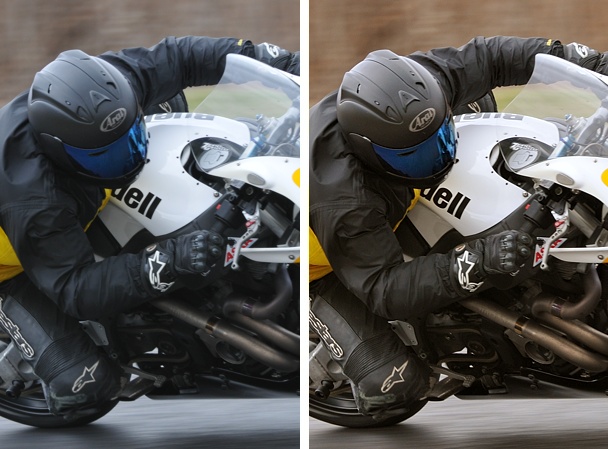
White Balance Issues are Subtle:
Most people do not notice slight color casts in images. The best thing
you can do to train your eye is to edit some of your existing photos, playing
around with White Balance. I suspect that you will
find that most photos benefit from subtle white balance adjustments.

Exposure Trick: If you have a hard time seeing incorrect white balance,
sometimes (but not always) temporarily adjusting
exposure
to +2EV will exagerate the color imbalance, allowing you to clearly see the color
imbalance.
Even the 'big boys' get it wrong: The following photo (left; with a blueish cast)
was found on
 Time's 2012 Olympic web site
(a photo by Reuters), which benefits greatly from a simple white balance adjustment: Time's 2012 Olympic web site
(a photo by Reuters), which benefits greatly from a simple white balance adjustment:

 If NX101.com helps you, help this site by making a donation.
|