 |
How to make your photos POP |

Roll mouse over photo (and out) to see before and after photos
|
Case Study: This case study was inspired by a
 request for help
from Matt on the
dpreview D300 forum.
Matt was kind enough to allow me to use his photos for this case study. request for help
from Matt on the
dpreview D300 forum.
Matt was kind enough to allow me to use his photos for this case study.
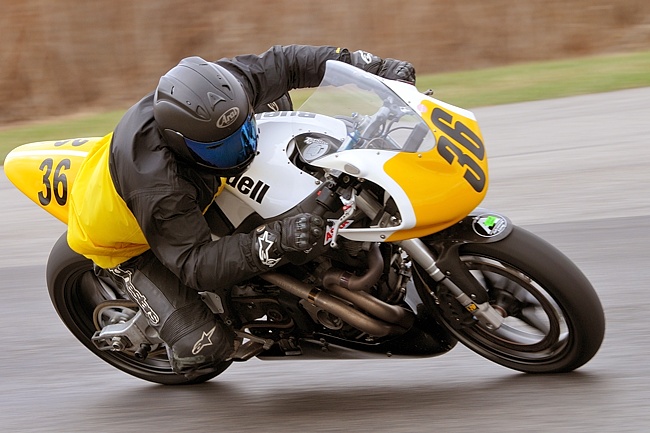
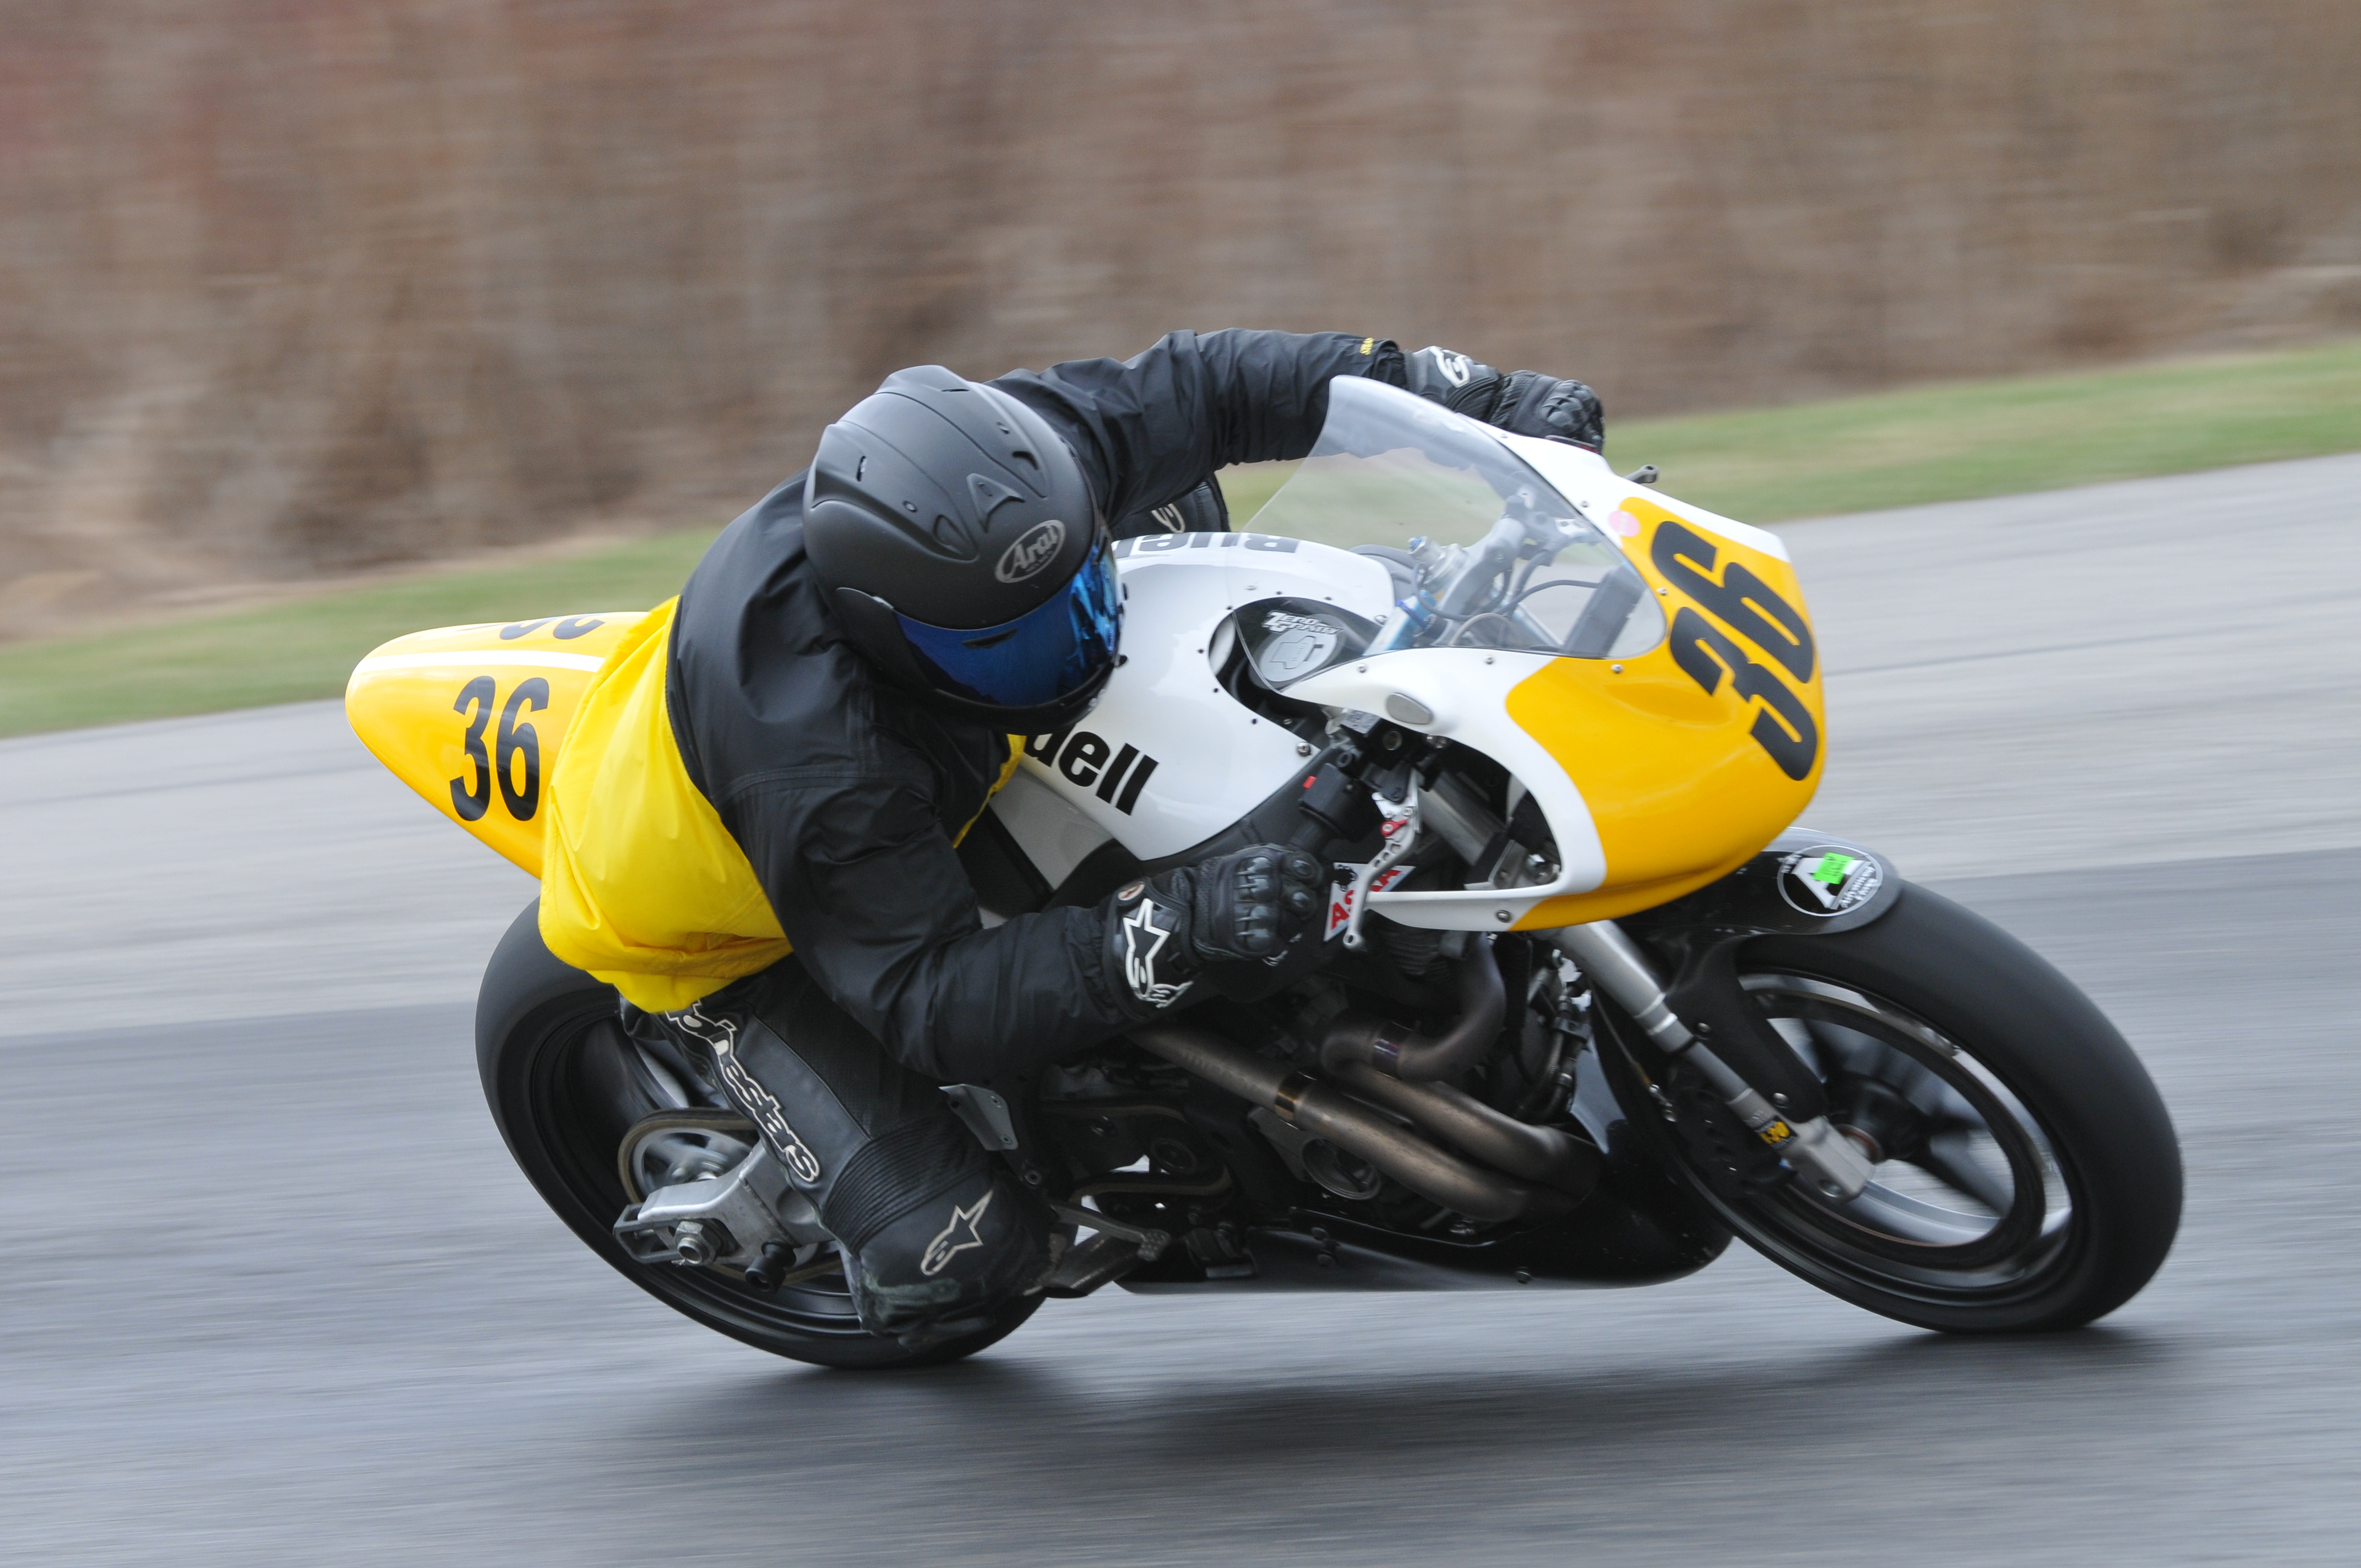
Matt posted several photos (one seen to the right).
Download the original
to post process it yourself.
Matt was asking for help since he thought his photo
had no 'pop', especially when he compared his work to
that of other photographers doing the same type of
work (and he provided some examples).
A complicating factor (for me) was that only an 'out of the camera' JPEG was
available, and not a RAW NEF file. I prefer to work from a RAW file instead
of an 'out of the camera JPEG' (especially when performing White Balance corrections)
in order to maximize the resulting output quality.
Here are my thoughts on how to make this photo 'pop'...
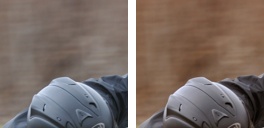
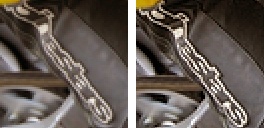
JPEG Compression: I can see 'JPEG jaggies' in the original photo that was
posted. That alone means that a lot of quality was lost.
When you create a JPEG as final output, you should be able to 'pixel peep' and
not see any JPEG jaggies. If you do, the JPEG quality was not set high enough.
More on JPEG Quality in NX.
Stranger still is that when I used my image
editor to resize the original photo and resave as a 600x399 output (just like
Matt did), my JPEG was smaller (byte size), and yet much higher quality
(see photo to the right).
White Balance: When I need to produce a 'highest quality' photo,
I always review White Balance
-- regardless of whether the balance
looks correct, or not. Because White Balance can be a very subtle thing,
where subtle adjustments can have a dramatic (for the better) impact on a photo.
And while white balance should only be performed on RAW NEF to maximize quality,
it can be performed on JPEG, but it will not work as well (as a NEF). And if you
only have a JPEG up front, doing something is better than doing nothing.
So, in this photo, I used the black, white, and neutral color droppers in a
Levels & Curves (because the RAW NEF was unavailable).
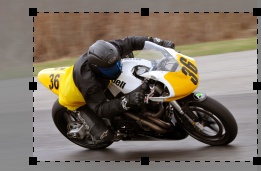
Composition: This photo benefits from a crop. Have the subject fill
most of the height of the picture, and then place any extra space ahead of
the subject -- in this case, to help accent the 'speed' of the subject.
Remember, if you are willing to post process a little (namely, crop to compose), there
is nothing wrong with taking a picture with the subject in the center of the frame.
However, by cropping, just be aware that you will be discarding some
pixels in the process of cropping -- something I don't have a
problem with given the high megapixels in today's digital cameras.
Lighting: If you want to maximize the number of 'out of the camera'
keepers (without the need for post processing) make sure that your entire
subject is well light up. In the photo above, the subject side of the bike
is 'in the shadows' (look at where the shadow is on the ground below the bike).
And while there is nothing wrong with shooting the shadow side of a subject,
doing so may require some post processing
(D-lighting
in this case) to pull out the details, depending upon the 'look' or 'style'
you are attempting to achieve.
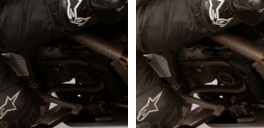
Sharpening: Sharpening is a very
important last step (after resizing, in this case, for the web) that adds
'pop' to most photos. A step that is very easy to miss.
Sharpening increases edge contrast for a 'sharpening' effect. When
just the right amount of sharpening is used, it really does help to make
a photo 'pop'.
Go easy on sharpening (like cosmetics). Used way to much, it becomes
overly distracting and all you notice. Whereas use just the right amount
and it is not even noticed, making you notice the subject even more.
The Final Result: The final result of these edits to Matt's photo can be seen below.
I hope that you will agree that a few simple steps can really add to the 'pop' of an existing
photo.
 If NX101.com helps you, help this site by making a donation.
|

